How to Change an Electric Bike Tire
We’ve had a few queries from various Pedego owners around Canada about how to change an electric bike tire, specifically the rear tire that’s connected to the electric motor drive. This is a really great question and one that requires a step-by-step guide. If you have no interest in getting your hands a bit dirty and using a wrench for a few minutes, however, then we’d recommend you take your electric bicycle to a professional to have the tire changed. Sometimes you might get a flat tire on one of your rides so it’s important to at least know the basics. The front tire of all Pedego electric bikes are similar to those found on regular bicycles and so removing it is an easy process that involves these steps:
- Turn the bicycle upside down so it’s resting on the seat and handlebars
- Unscrew the lever or nuts holding the axle to the frame
- Gently remove the wheel from the frame, ensuring the disk brake slides out of its housing without bending
- Deflate the tube completely
- Loosen the tire beads from the rim by squeezing the tire together all the way around the rim
- Use a tire lever (or a spoon or similar flat object) by easing it under the wheel rim and levering out the edge of the tire
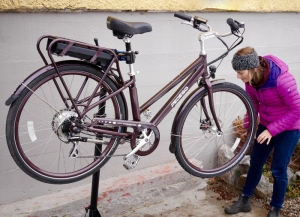
Once that’s done you can change the inner tube (if it’s flat) or the tire if installing studded tires in preparation for winter riding. The rear tire on a Pedego electric bike is different from regular bicycles, however, because of its connection to the motor drive. Therefore it’s really important to follow these steps to ensure there’s no damage to the electric connections. To help illustrate the steps, we enlisted Marley Bassett, a happy new owner of a Pedego City Commuter living in Nelson, British Columbia. When the snow fell she changed to studded tires so she could continue commuting to work throughout the winter months.
Step 1:
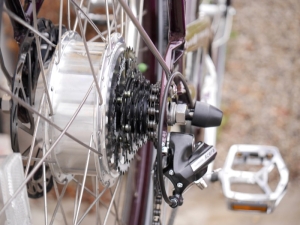
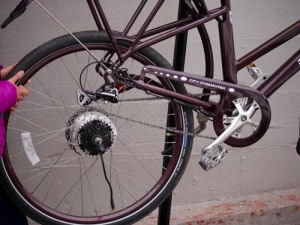
Ensure your bike is in the highest gear so that your chain is furthest away from the rear hub.
Step 2:
Place your bike on a stand or turn it upside down so it’s resting on the handlebars and seat or battery rack. (IMPORTANT: Take care not to damage the LCD console or other components on the handlebar.) This will allow you to access the tire easily.
Step 3:
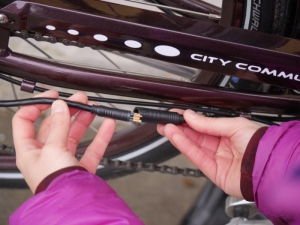
Using two hands, unplug both sides of the electric motor cable located under the chain guard. (You will need to snip the zip ties on either side of the connector.)
Step 4:
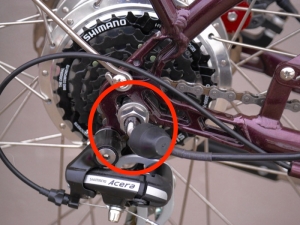
Remove the rubber cap that sits over the bolt holding the wheel to the frame.
Step 5:
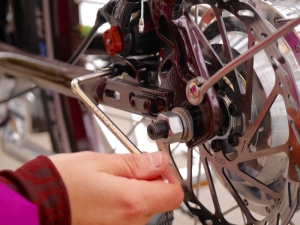
On the opposite side of the hub, take an allen key and unscrew the two bolts holding the brake assembly in place.
Step 6:
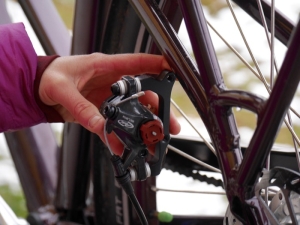
Remove the brake assembly and let it hang off to the side.
Step 7:
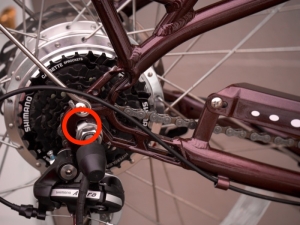
Return to the other side of the hub and take note of where the axle sits in relation to the frame inset. When it comes time to reinstalling the wheel, it needs to go in the same place. Normally this will be with the tab on the locking washer butted up against the end of the frame inset.
Step 8:
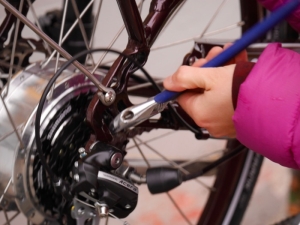
Using a wrench, unscrew the two bolts attaching the wheel to the hub. (There’s one on either side of the wheel.) IMPORTANT: Take note of the way the washers are placed as you’ll want to reinstall them in the same way.
Step 9:
Gently lift the tire out of the hub while pulling back the chain so it unhooks from the chainring.
Note:
When it comes time to put the tire back on the frame, you’ll want to ensure the tail of the washer is seated in the frame inset.
Once the rear wheel is off you can remove the tire and replace with a different one or fix or replace the rubber inner tube.
Contact your local Pedego store to learn more!
"*" indicates required fields

